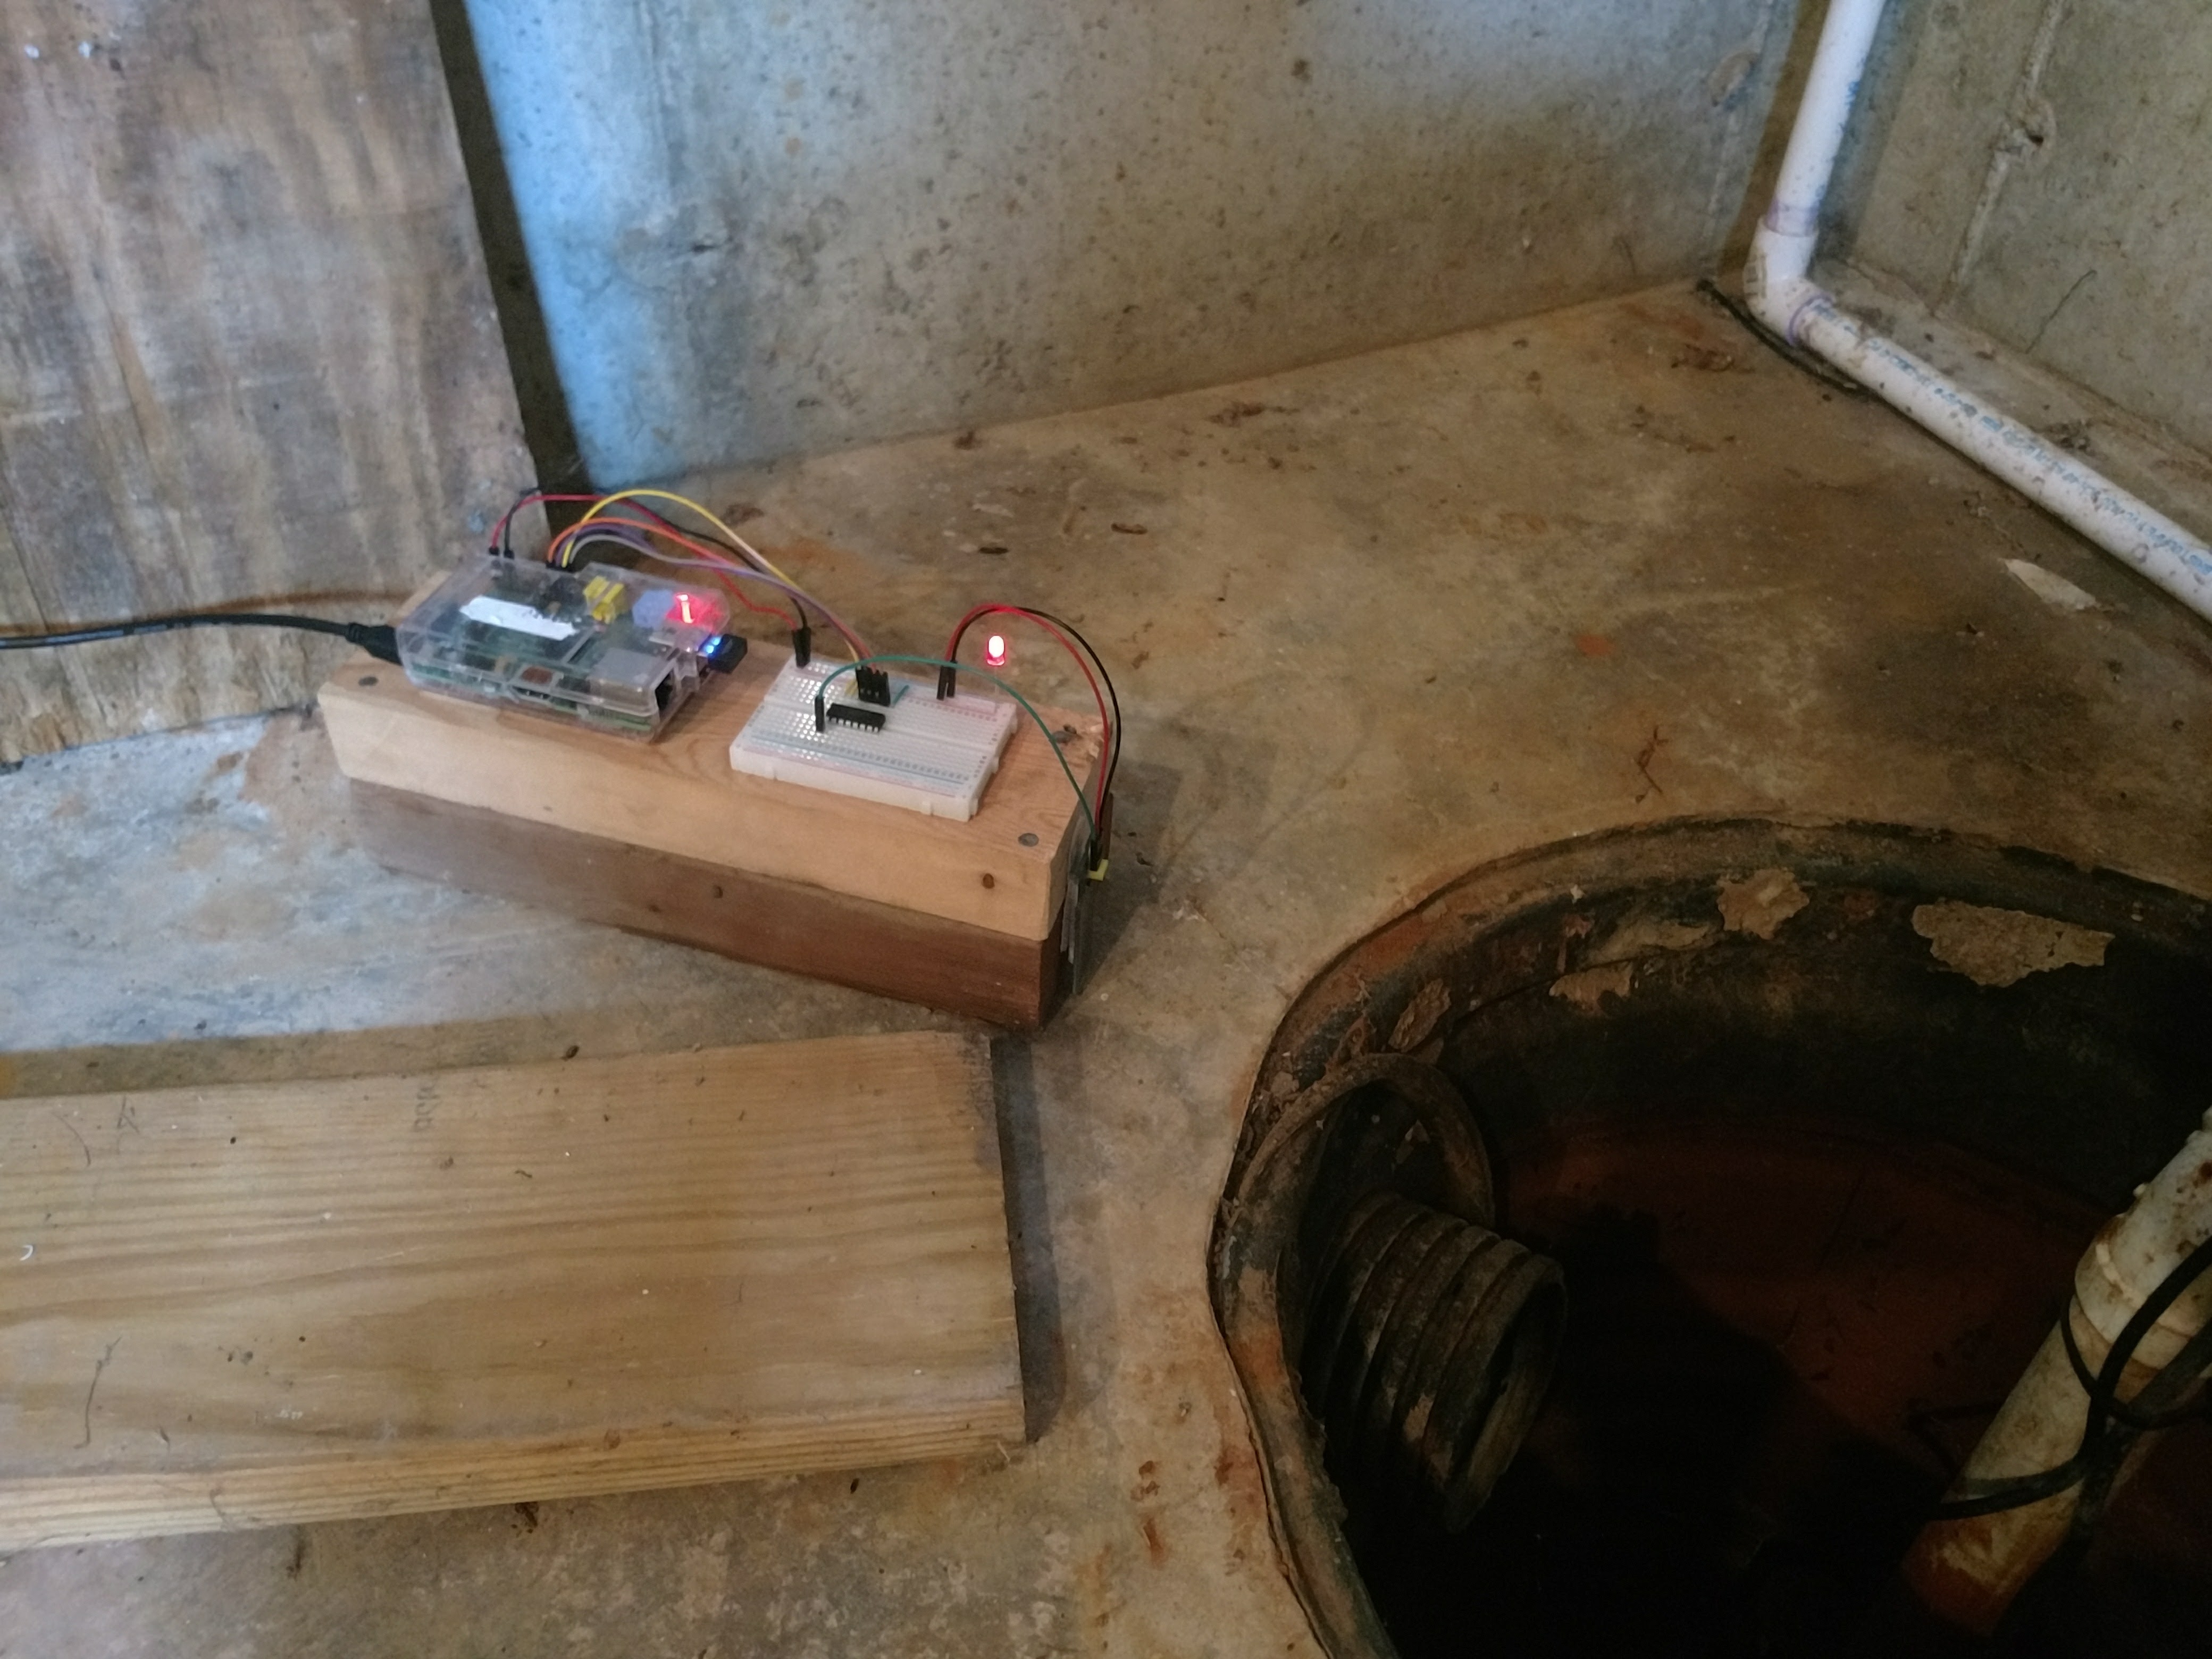
Sump-Pi

Out in the midwest, we must deal with basement flooding. Should the sump pump fail, the basement will flood. However, if a failing sump pump is caught early, the worst can be averted. With this in mind, I set out to create a simple but effective sump pump monitor using an old Raspberry Pi 1. I created a simple program that takes a measurement and emails if there is a problem. With notifications turned on for this email address, it’s then easy to know when something has gone wrong.
Materials:
- Raspberry Pi 1 Model A
- Power Supply and SD card with Rasbian installed
- Internet Access for the Pi
- A breadboard
- A water sensor
- An ADC converter
- Some wood
- Some mounting adhesive such as Command Strips and screws
Directions:
In this project, “->” means to add in a file or access a menu.
First set up the hardware as specified by the documentation. Power the breadboard with the Pi, and use the ADC to interface between the the water sensor (analog) and the Pi (digital). More specific instructions will be added later.
Then, mount the hardware on something, with the water sensor near the ground. I used blocks of wood and command strips to mount the Pi and sensor.
Next, we move onto software. Make a sump-pi user and give it sudo power
adduser sump-pi
sudo visudo
-> sump-pi ALL = NOPASSWD : ALL
Then install wringPi
sudo apt-get update
sudo apt-get install git-core
git clone git://git.drogon.net/wiringPi
cd wiringPi ./build
Then write the programs to be run, and put in the sump-pi home directory. bootup.sh sends a message upon bootup, status.sh send a message with the status of the pi, and sump-pi.c takes measurements and reports if there is a problem. Make sump-pi.c with the Makefile.
Enable SSH and SPI
sudo raspi-config
-> Interfacing Options
--> enable SSH and SPI
Allow outside mailing
sudo dpkg-reconfigure exim4-config
-> internet site
-> sump-pi.com
-> <Enter>
-> sump-pi.com
-> <Enter> ...
Set sump-pi and status.sh to run every few hours
crontab -e
SHELL=/bin/bash
MAILTO=<your email>
HOME=/home/sump-pi

00 *  * * * /home/sump-pi/sump-pi/sump-pi
00 16 * * * /home/sump-pi/sump-pi/status.sh
And finally, set bootup.sh to be run on bootup
sudo vim /etc/rc.local
-> home/sump-pi/sump-pi/bootup.sh